Introduction
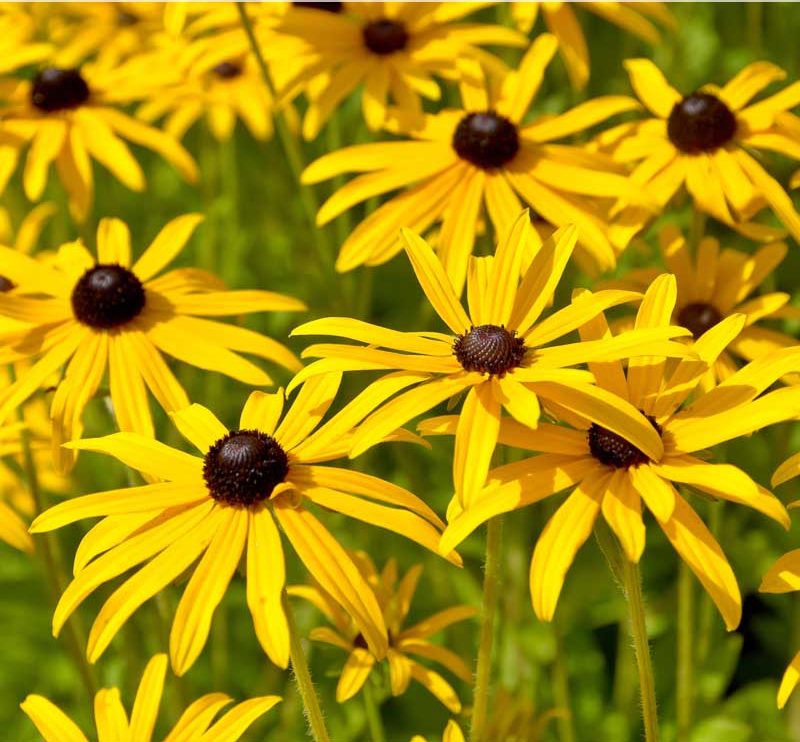
Black-eyed Susans, with their golden yellow petals and rich brown centers, are a garden favorite for their cheerful demeanor and hardy nature. These vibrant flowers, also known as Rudbeckia hirta, are staples in many informal gardens, from sunny borders to bustling mailbox beds. But when those radiant blooms are overshadowed by black spots on their leaves, it can turn a gardener’s joy into a perplexing challenge. Don’t let these dark spots dampen your gardening spirit—read on to uncover how to keep your Black-eyed Susans healthy and thriving, even when the leaves seem to turn black.
Understanding Black Spots on Black-Eyed Susans
Black spots on Black-eyed Susans can be more than just an aesthetic annoyance; they signal underlying issues. The most common culprit is Septoria leaf spot, a fungal disease that can affect many plants, including tomatoes. These spots usually begin as small, dark lesions and can expand up to ¼ inch in diameter. They often appear on lower leaves and can spread upwards, primarily through splashing water. Although the disease is mostly cosmetic, heavy infestations might cause premature dieback of the plant.
 Effective Strategies to Combat Black Spots
- Enhance Air CirculationOne of the primary causes of leaf spots is poor air circulation. Black-eyed Susans need space to breathe—literally. Ensure you plant them with adequate spacing to promote airflow. This helps reduce moisture buildup around the leaves, which is a breeding ground for fungal spores. If you’re dealing with a dense planting, consider thinning out some plants or pulling out any volunteers that sprout from fallen seeds.
- Optimize Watering PracticesWatering is crucial but needs to be done right. Overhead watering can splash fungal spores onto the leaves, exacerbating the problem. Instead, water your Black-eyed Susans from the base to keep the foliage dry. Using a soaker hose or drip irrigation can provide consistent moisture without wetting the leaves. Remember, watering early in the day allows the soil and plants to dry out before evening, which helps prevent fungal growth.
- Regular Maintenance and CleanupKeeping your garden clean is a proactive way to manage fungal diseases. Remove spent foliage and any infected plant parts promptly. This reduces the amount of spores that can overwinter and cause future infections. In small plantings, you can also clear away fallen leaves and debris regularly. For larger areas, focus on removing any visibly infected leaves to minimize the spread of the disease.
- Strategic Planting and DivisionBlack-eyed Susans thrive in full sun and well-drained soil, but their tendency to spread can lead to overcrowded conditions. Regularly divide your plants to maintain healthy spacing. Spring is the ideal time for dividing, as it helps manage the density and encourages robust growth. If you find your plants are spreading too much, consider relocating some or giving them away to friends and community gardens.
- Choose the Right LocationThe location of your Black-eyed Susans plays a significant role in their health. Plant them in a spot with good drainage and full sun exposure. Avoid areas with heavy shade or poor drainage, as these conditions can promote fungal growth and exacerbate leaf spot issues.
- Monitor and Manage Infections
If black spots persist despite your efforts, consider applying a copper-based fungicide. This can help control the spread of the disease, especially if you’ve had recurrent issues. While chemical treatments are not always necessary, they can be a useful tool if you’re dealing with severe infestations.
Conclusion
Black spots on Black-eyed Susans might seem daunting, but with the right care and maintenance, you can keep your garden’s golden flowers looking their best. By enhancing air circulation, adjusting your watering practices, maintaining a clean garden, dividing your plants, and choosing the right location, you can significantly reduce the impact of fungal diseases. Remember, a little proactive care goes a long way in preserving the beauty and health of your Black-eyed Susans. Embrace these strategies, and let your garden bloom brightly all season long.

